Inspired by Worms Appreciation Day at Rhyze on Lauriston Farm earlier in the year, I’ve begun my own vermicomposting journey.
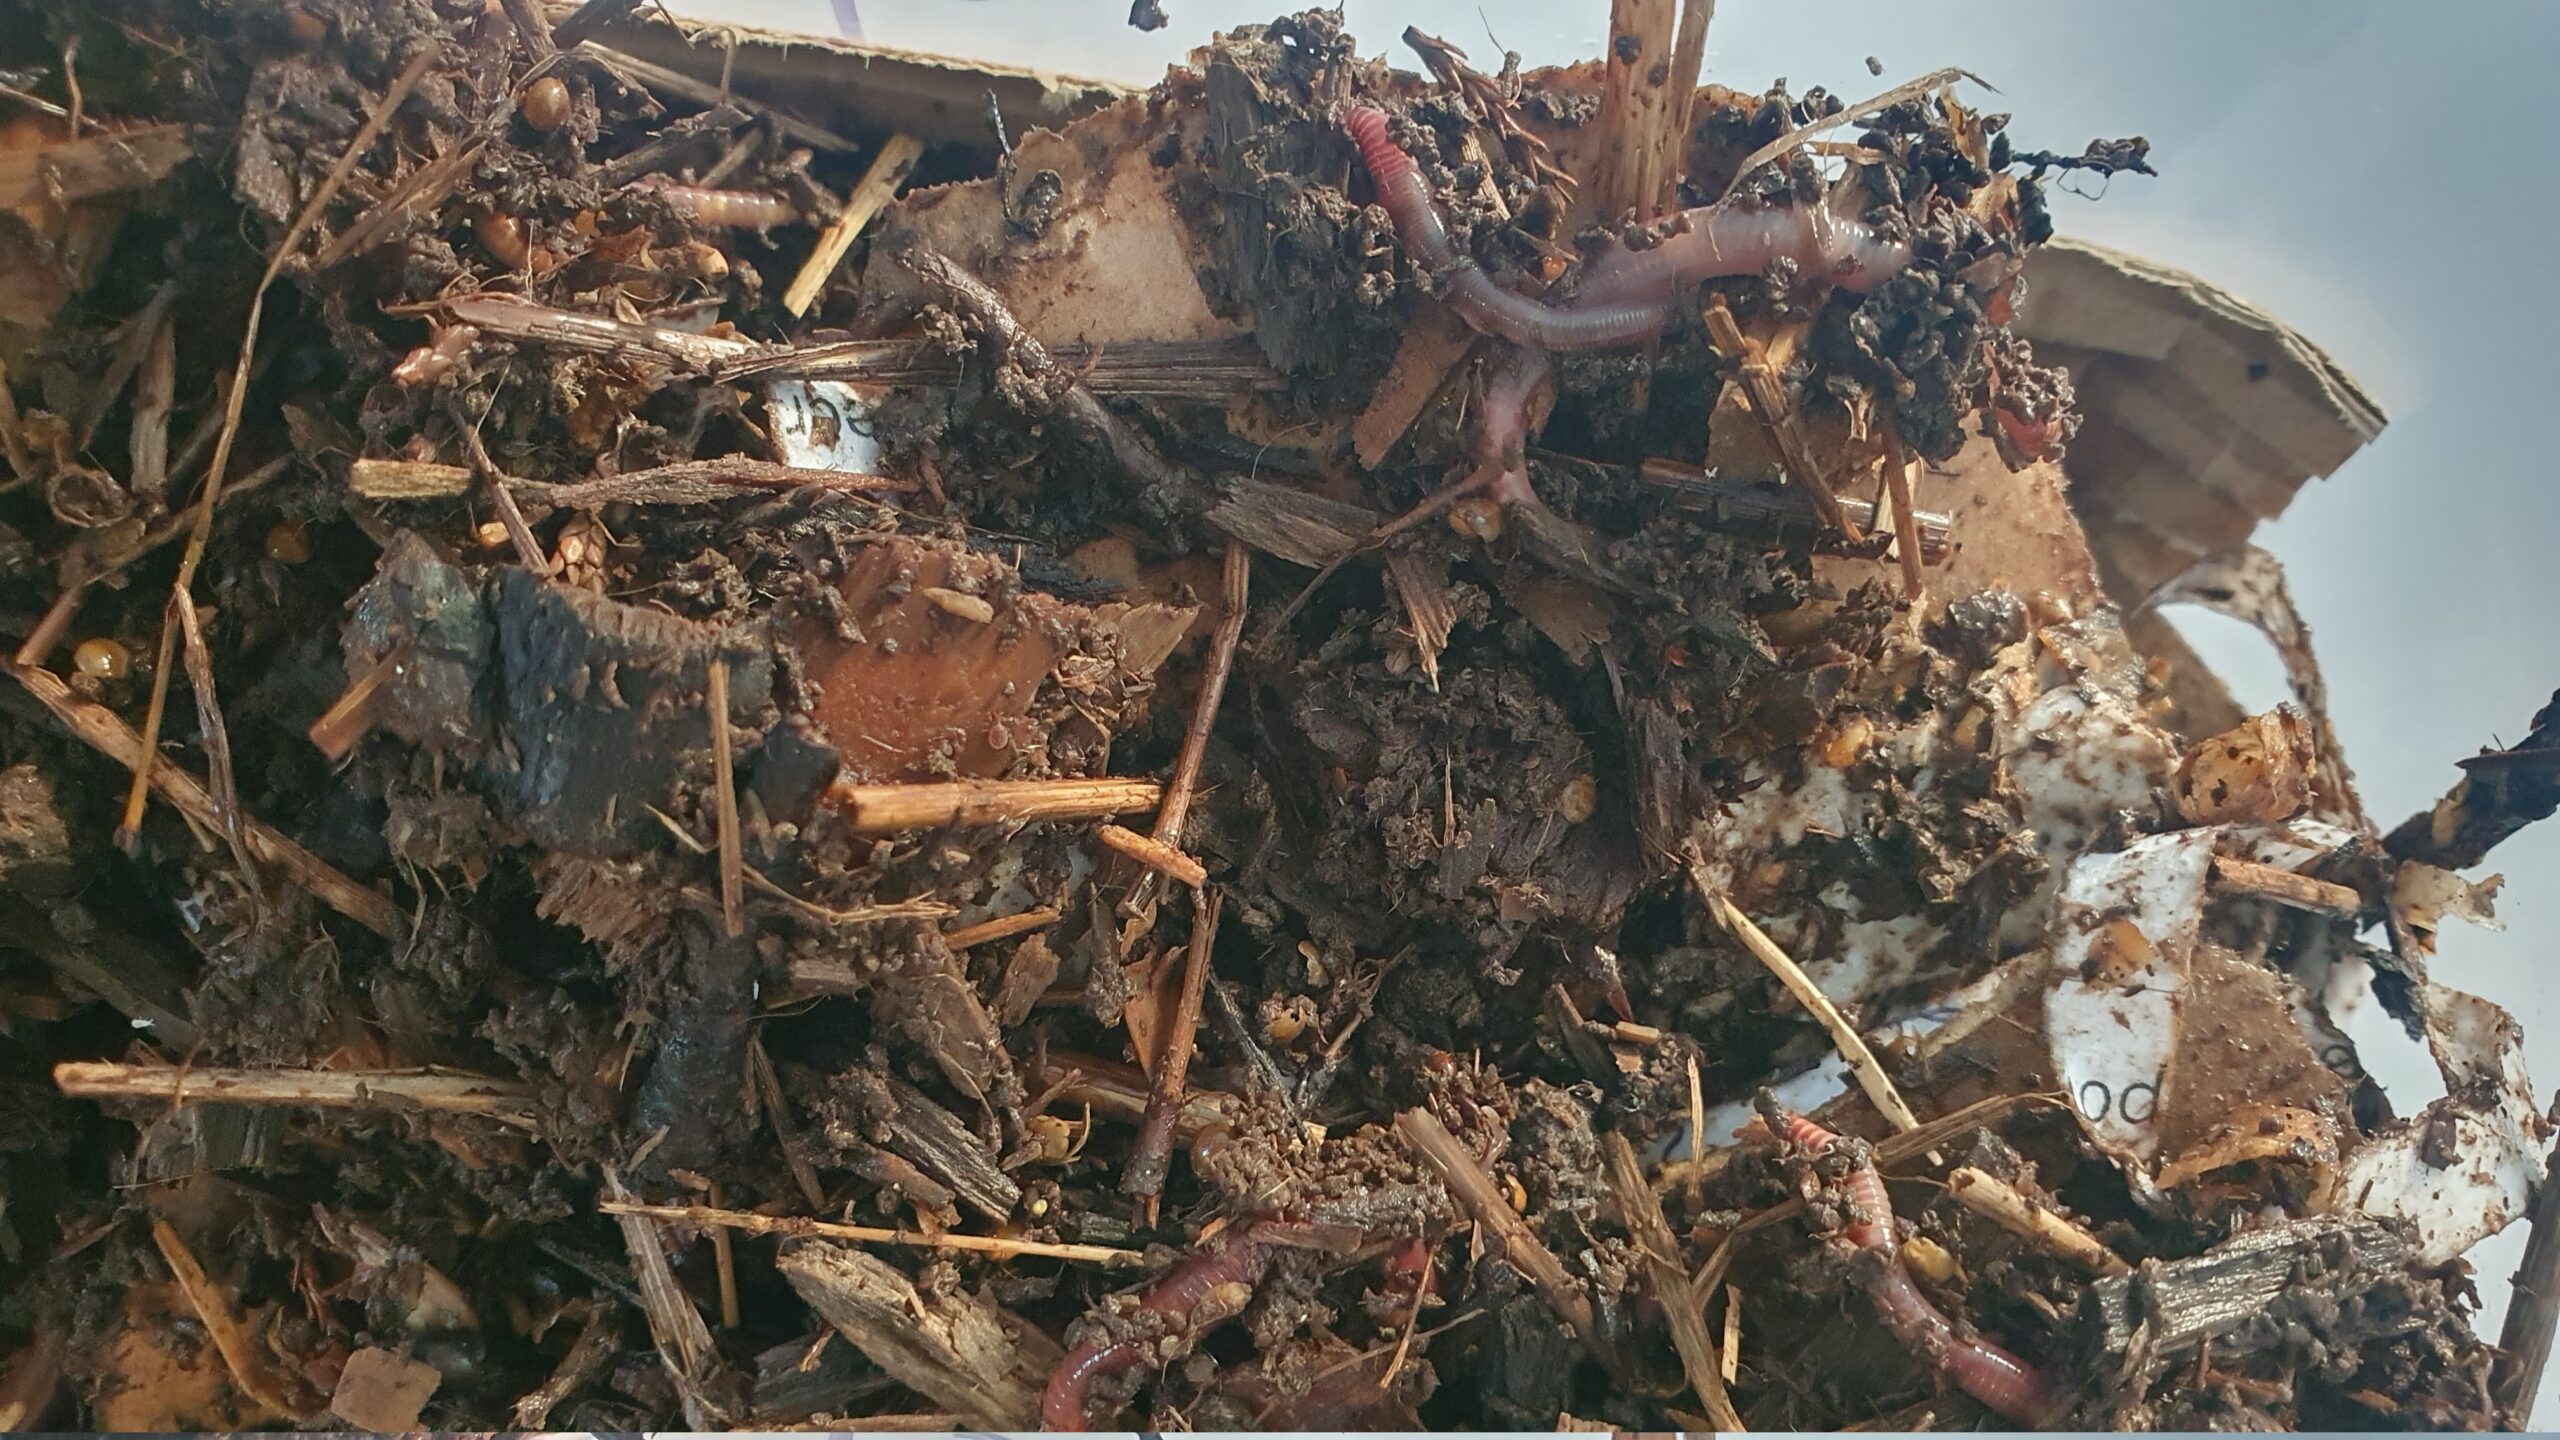
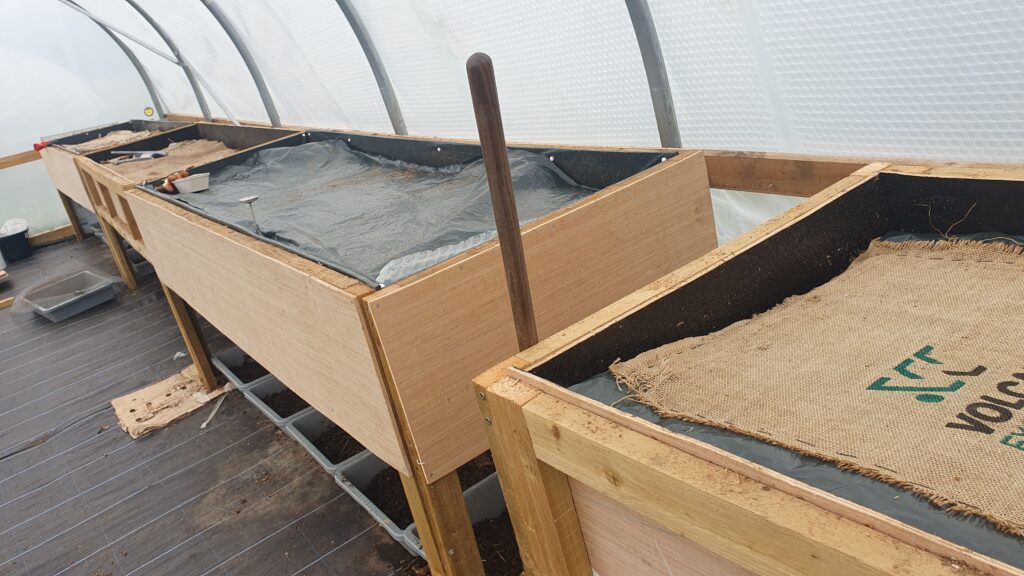
The worm bins at Rhyze are big. They have a deep layer of bedding, and the worm castings (poop) are harvested from underneath. They primarily feed their worms on spent mushroom growing substrate (which is made from millet, coffee chaff, and straw), woodchip from the farm, and only occasionally old veg. So while I’ve been learning a lot about worm care in general from visits to Rhyze, it’s definitely not a setup that was going to work in my kitchen.
Where to start?
I searched the web.
There are a lot of articles about how to build your own small-scale vermicomposter, but they don’t have much info about what to do next. What goes in the bedding? How deep should it be? What should I feed the worms? How exactly do I harvest the castings and leave the worms alone? I discovered that a far more useful resource is the Vermicomposting subreddit, which is full of people trying things out and reporting on their results, or asking questions and getting answers from people who have similar setups. It’s a great way to learn from what went wrong elsewhere, and avoid making the same mistakes, as well as get some novel ideas about how to create a custom, low-maintenance setup.
One thing I picked up was that feeding the worms food waste – too early, or too much – can lead to disaster (and stink). When they’re still settling into their new home, it can take weeks to months for them to be breaking down the materials you put in at the rate you’d expect in the long term.
But I was fed up of sending my food waste off to be transported to the mysterious council digestor! I wanted to use it at home, now! So then what?
Ferment it
Fermenting is a great solution to a lot of problems. Turns out, you can ferment your food waste too. This is a Japanese method of composting called bokashi, which I read about in The Compost Coach by Kate Flood.
I was initially put off by the need to buy a component to get started – the EM-1 (effective microorganisms) solution that enables the fermentation process. But when I read that bokashi output can serve as pre-processed food for worms, giving them less work to do in the early stages, I decided it was worth a shot. And it meant I got to put my food waste to work straight away.
DIY bokashi bin
Of course you can buy pre-made bokashi bins. But you can also drill holes in a bucket, stack it on top of another identical bucket, and drain it by hand.
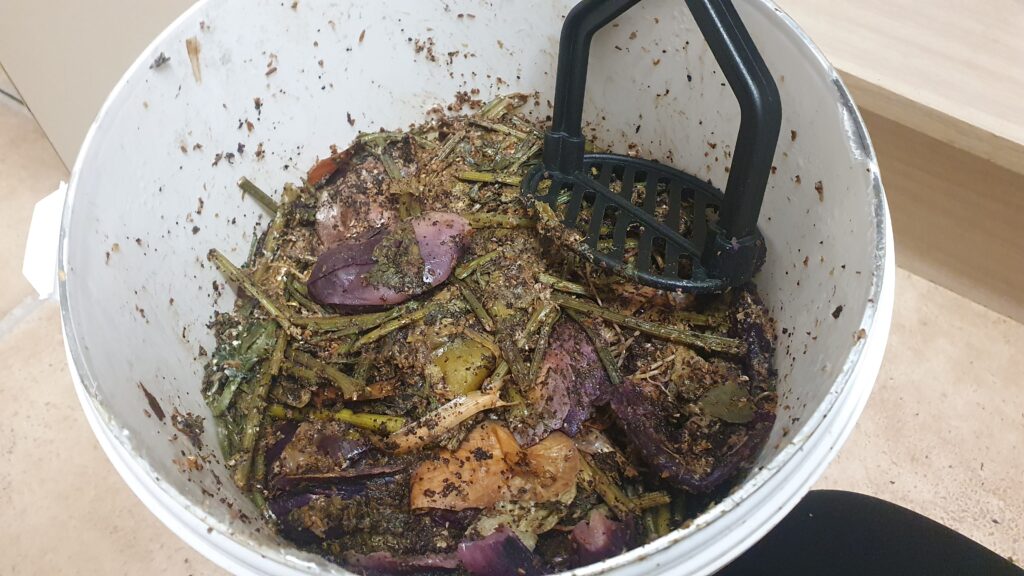
I added my food waste (unlike normal compost, anything goes here) for a couple of weeks, until the top bucket was full, sprinkling a handful of bokashi bran in each time I opened it, and mashing it down with a potato masher. I drained off the liquid once, diluted it, and used it to fertilise my plants. (You can also use it neat as a drain cleaner, because it’s so active!)
Then I left it alone for two weeks to ferment undisturbed – it’s an anaerobic process, so it needs an oxygen-free environment for the microorganisms to do their work.
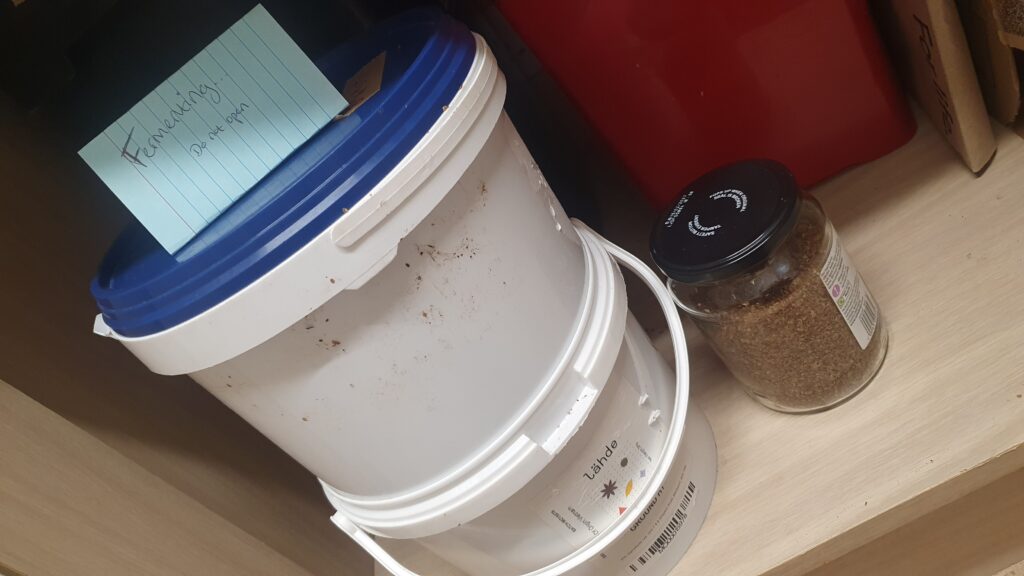
When I opened it after 2 weeks, it was covered in fuzzy white mould, and I panicked. But I didn’t need to panic! A quick web search revealed this meant my buckets weren’t airtight. Black or green mould would have been a problem. I mixed it back in and started problem-solving how to seal my buckets better in future.
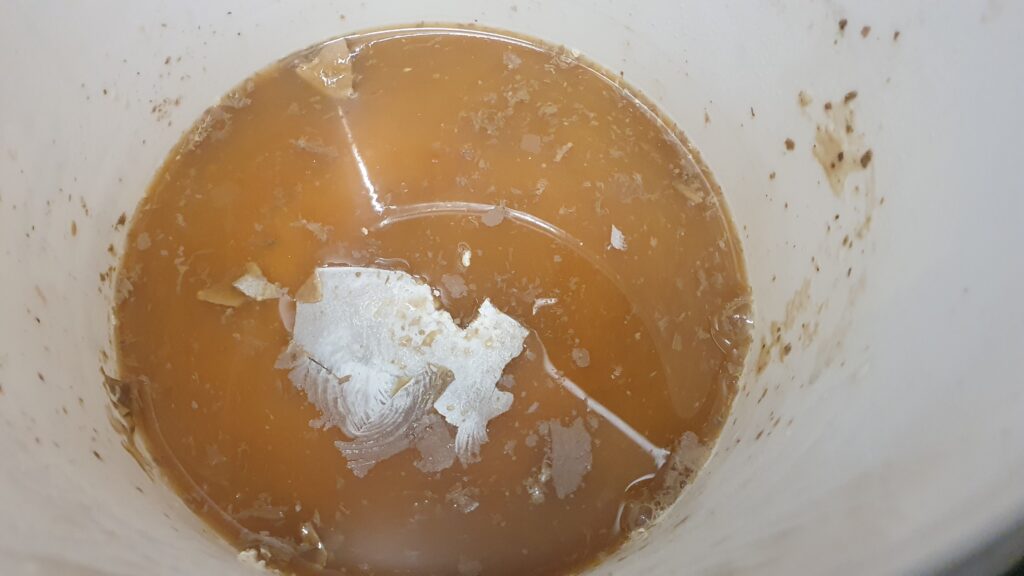
Important note: it didn’t smell bad! It smelled a little of fermenting. If your bokashi smells of rot or anything unpleasant, the EM-1 microorganisms aren’t doing their jobs (they might have been overtaken by different microorganisms who are breaking it down in a smelly way).
Future bokashi
I’ll write more about bokashi in future. I want to experiment with making my own inoculated bran, rather than buying it, and also see what my kombucha SCOBY does to the mix – it in theory contains two out of the three components of the EM-1 already.
Back to the worms
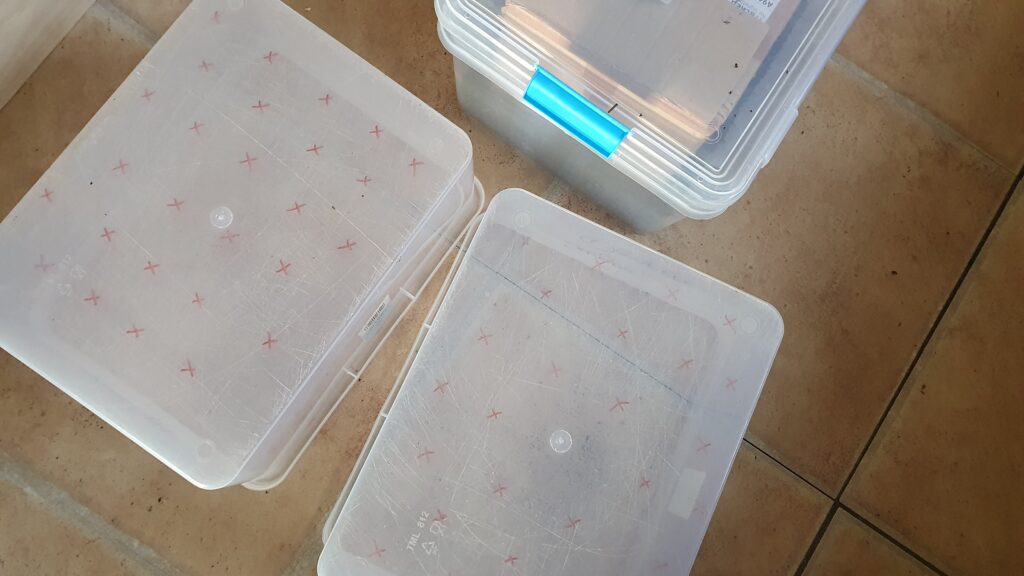
In the meantime, I constructed a three-tier worm bin from some plastic boxes I had recently emptied of dried beans and pulses.
The plan:
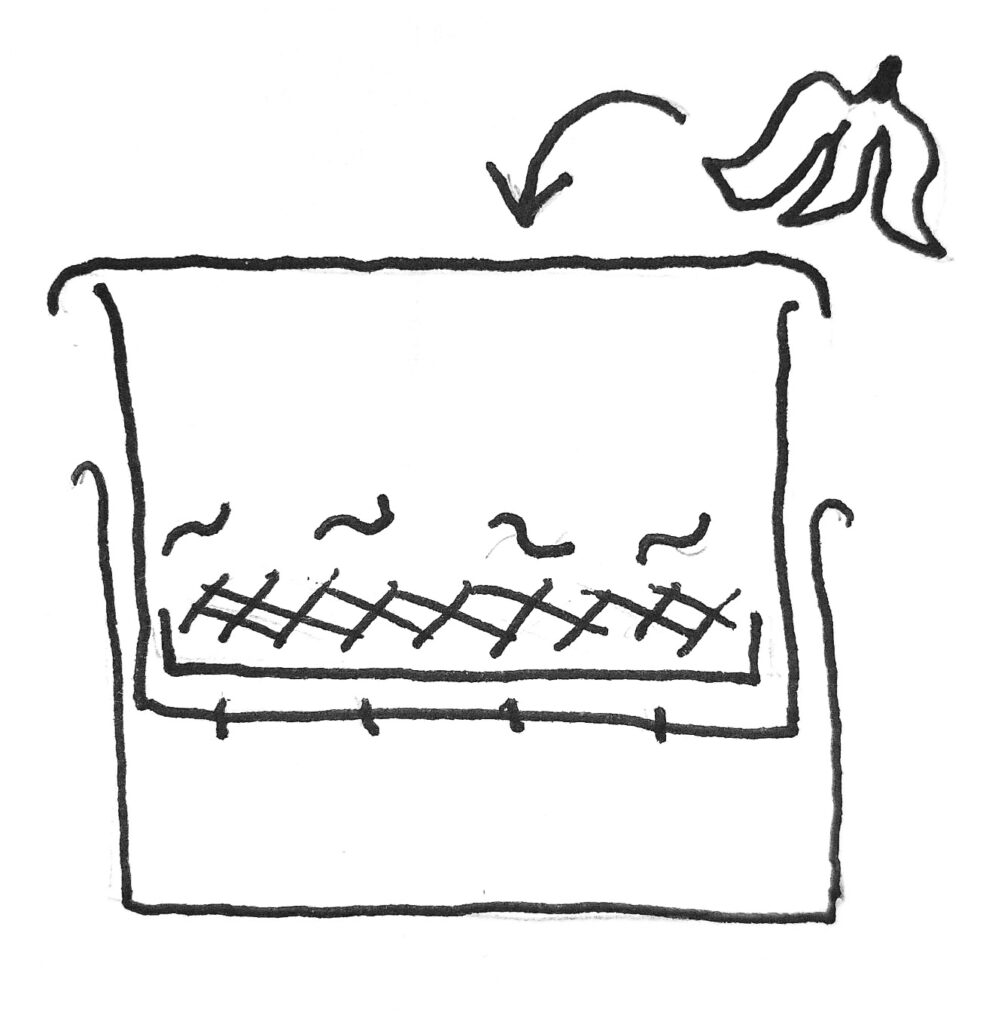
Tier 2: drainage holes, a cardboard lining (to stop worms falling), worm bedding, and worms. Food waste is added here until full.
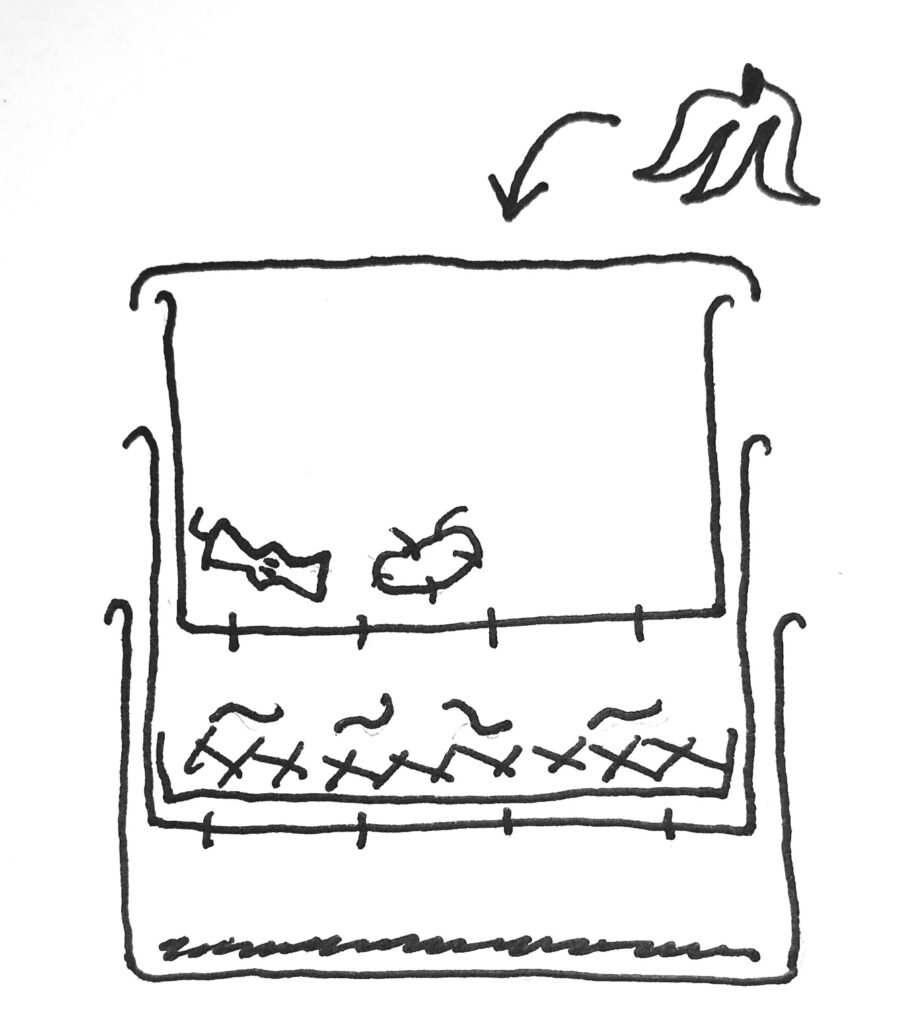
I drilled ~5mm holes in the bottom for drainage and worm corridors, and in the sides for airflow. My boxes are transparent, but I’m keeping them in a closed cupboard, so there shouldn’t be too much light getting in. I’ll wrap it in cardboard or fabric if it seems like it might not be dark enough.
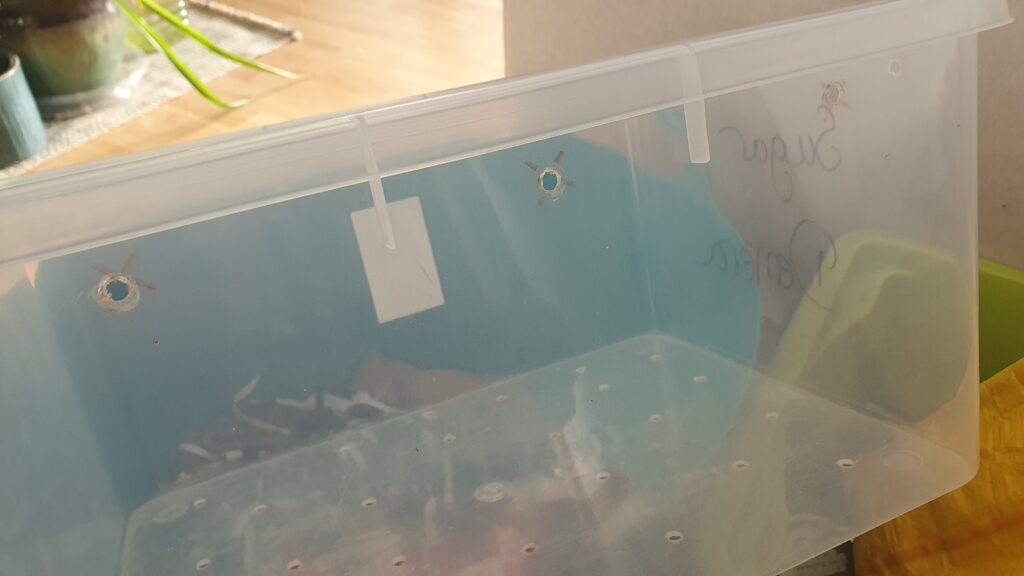
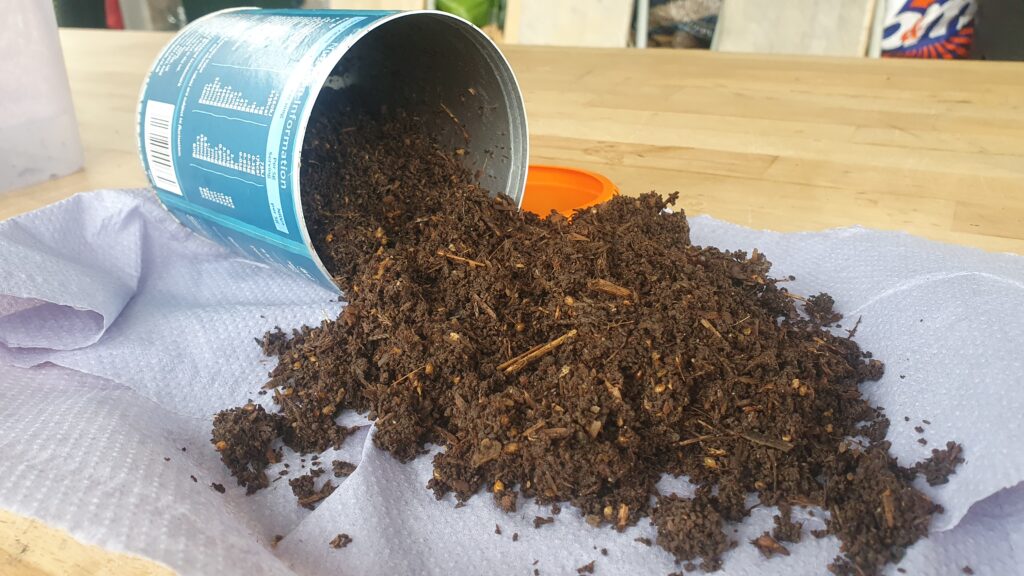
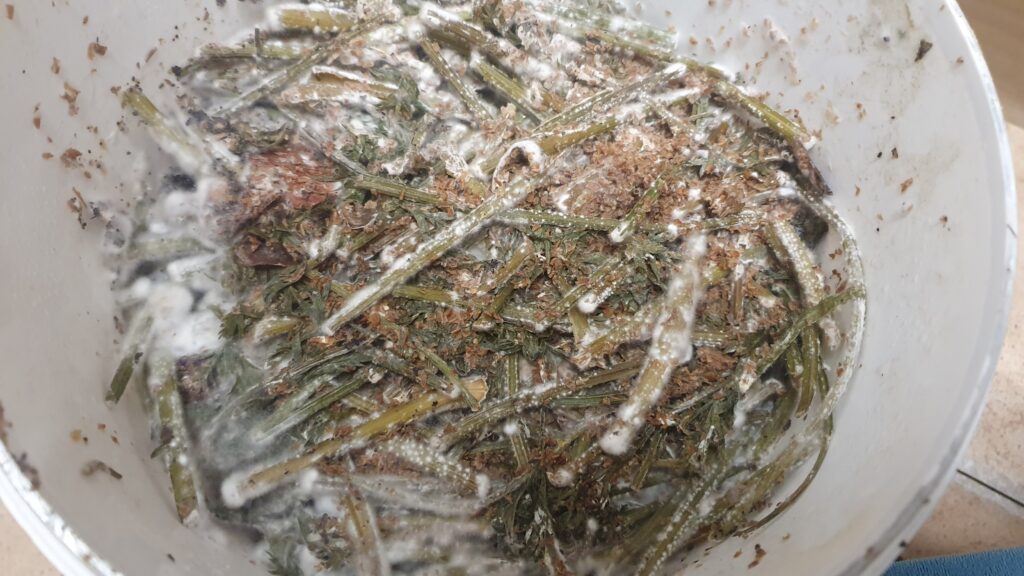
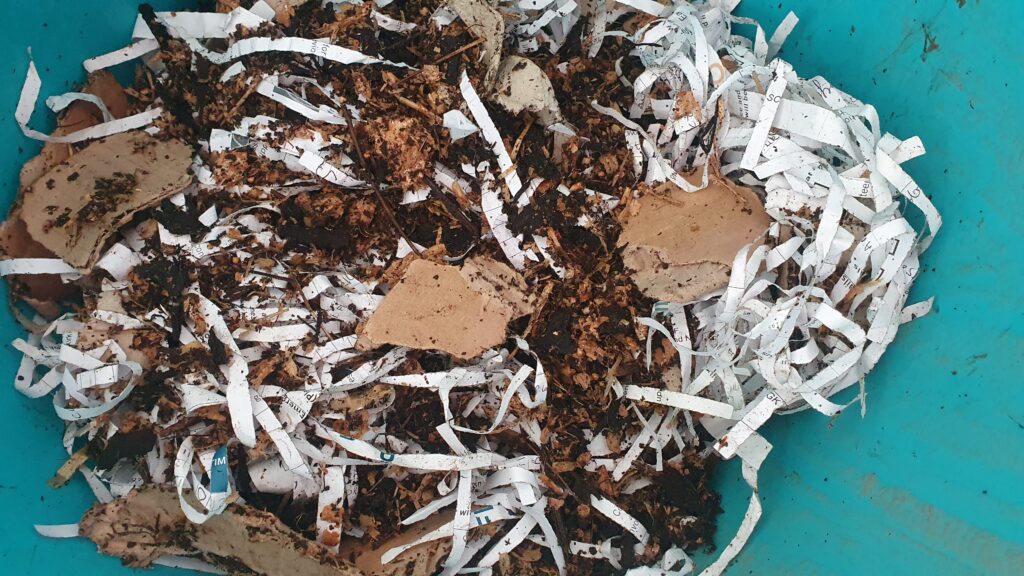
The bottom layer collects any excess moisture (so the worms don’t drown in it). The middle layer is where the worms live to start with, in bedding made from shredded paper, soaked cardboard, woodchip, spent mushroom substrate – mixed up with some of the bedding and worm castings from their home bin at Rhyze, so it smelled familiar.
The bedding needs to be well-structured so they can move through it and don’t suffocate, as well as not too wet or too dry. I soaked it with de-chlorinated water (important – just leave a bottle or dish of tapwater open and wait for the chlorine to evaporate. Or use rainwater) and covered the surface with cardboard, to help keep moisture in, and to deter them from crawling out the top.

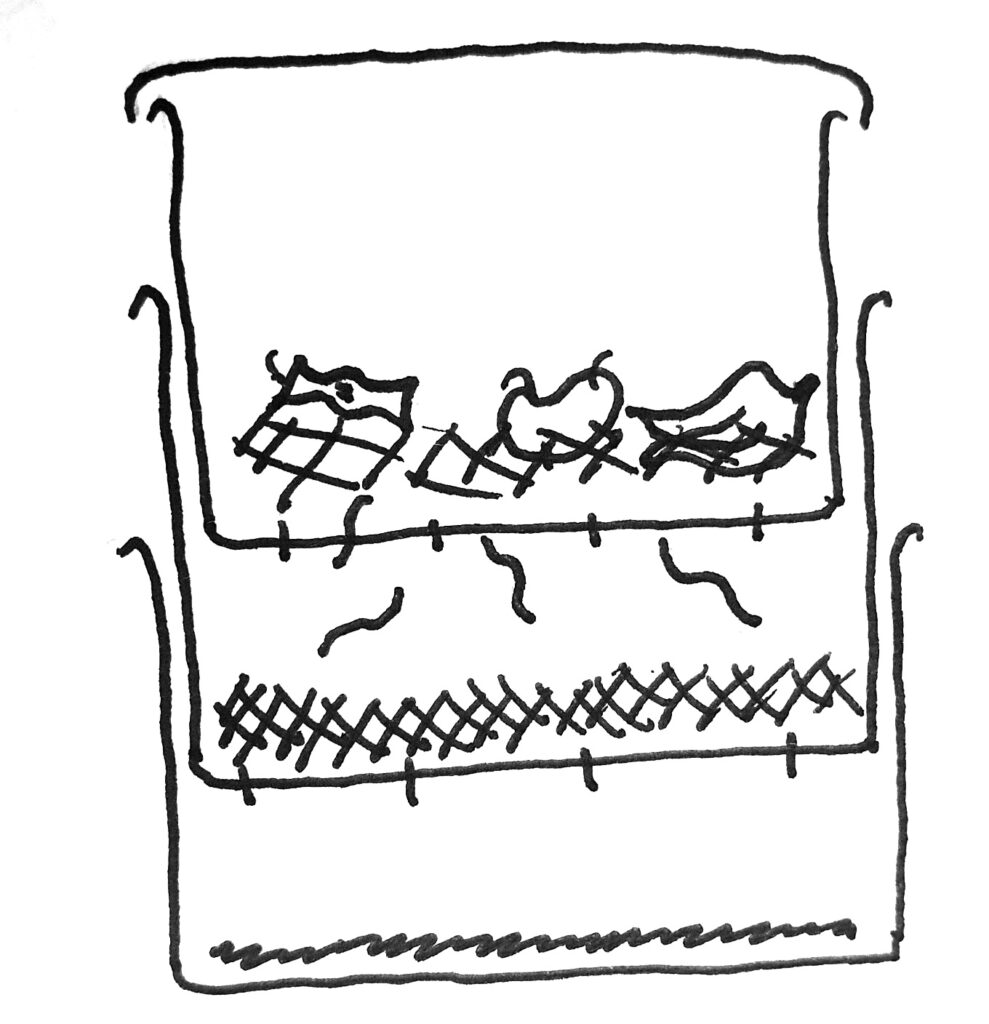
After their settling in period, I’ll add food waste and bokashi output to the top in small quantities, and wait for them to process it before adding more. When the middle layer is full, I’ll put the top layer in, and start adding food to that.
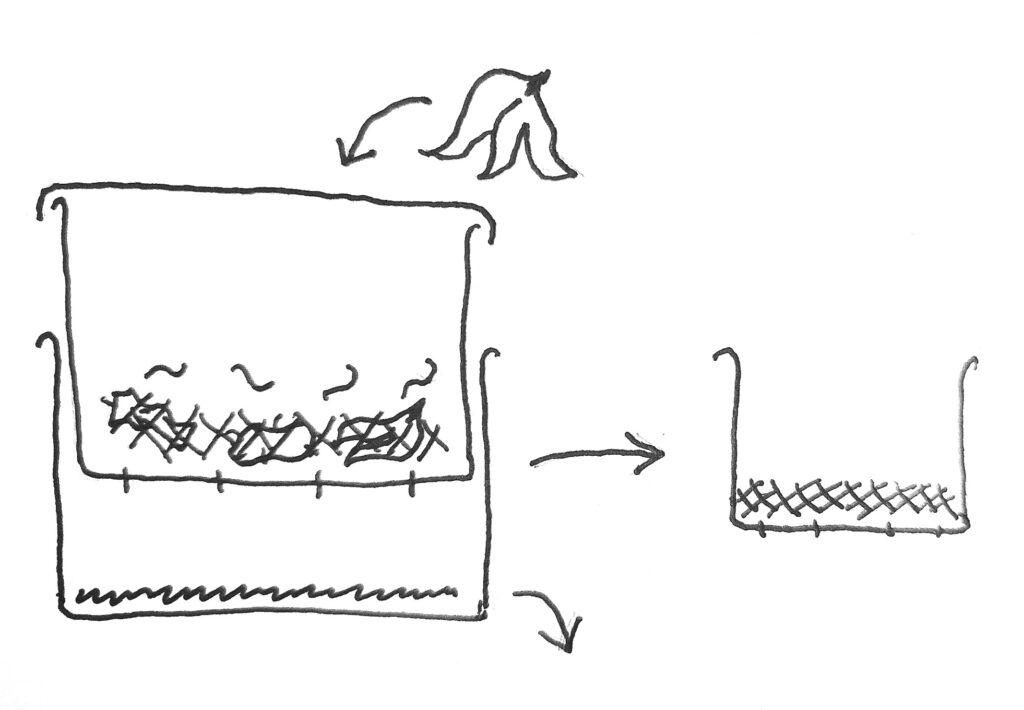
In theory the worms will migrate up to where the food is, and make themselves at home up there. When all of the worms have moved out of the middle, I can simply lift it out and sieve out the worm castings.

Then: repeat the process. Fill up the wormy layer with waste, and drop the now-empty box into the top when it’s time to move them on.
Thanks to Roxy at Rhyze for the worms!
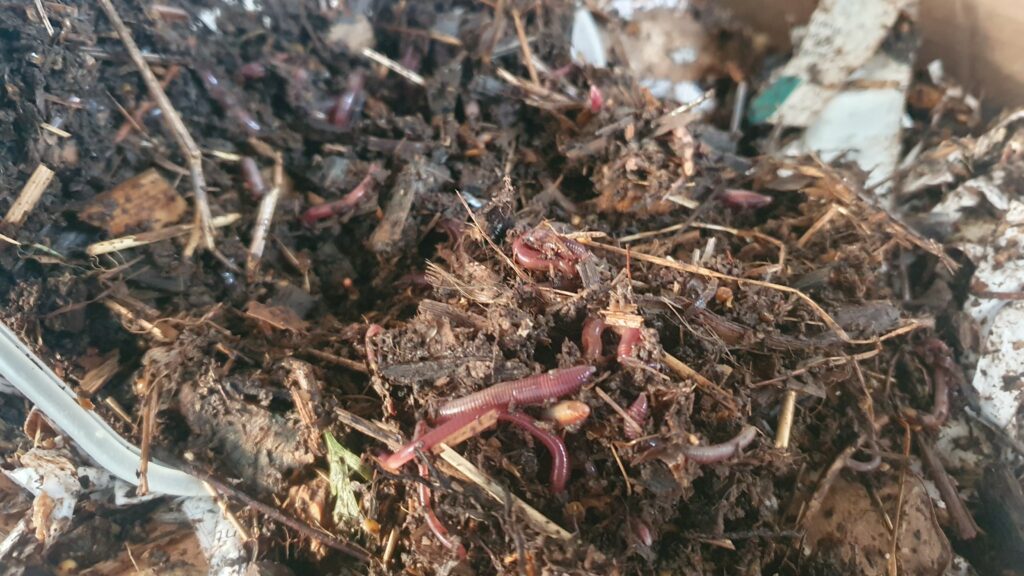
They moved in on 24th September, and I’m trying to leave them alone to settle in as much as possible. Although I am compelled to check on them the minute I wake up in the morning.